I decided to try out this bread when I had some serious cravings for garlic texas toast. Garlic texas toast....yet another thing we don't buy at the store due to diet changes. It's just too hard to resist having multiple pieces of that glorious stuff. ;) Anywho this garlic onion bread satisfies the craving for me. A hunk of this bread lightly buttered and sprinkled with mozzarella cheese before toasting is so very yummy. I'm still tinkering with the recipe on this.....I'm happy with the basic blend and now I'm seeing if I can kick it up into exceptional. This is a one rise bread for me so it's fairly quick and simple to make.
Garlic Onion Bread (version 2.0)
1 package active dry yeast
2 to 3 cups all purpose flour
1/4 cup spelt flour
1/4 cup milled flax
1/4 cup wheat germ
1/4 cup oats, ground
2 tbls vital wheat gluten
1 cup warm milk
1 tbls oil
1 tbls honey
1/4 tsp salt
1/3 cup dehydrated onion, hydrated
1 tbls garlic
Dissolve the yeast in about 1/3 cup or so warm water. Stir in warm milk, oil, honey, salt, hydrated onion, and garlic. Mix in ground oats, spelt flour, milled flax, vital wheat gluten, and wheat germ. Begin to mix in the all purpose flour until your dough stiffens up. Turn out onto a floured board and knead in remaining flour. Continue to work dough for another 8 to 10 minutes. Put dough on greased cookie sheet and press into a 9x13 sized rectangle about 1/2 inch thick. Run a pizza cutter through the dough to divide into sections. Cover and let rise in a warm place for about an hour, or until your dough doubles. Generally I use the oven with a cup of steaming water on the bottom to rise my dough. Bake at 375 for about 20 to 25 minutes or until bread is nicely browned.
And now for a few comments and photos as I worked through the recipe...
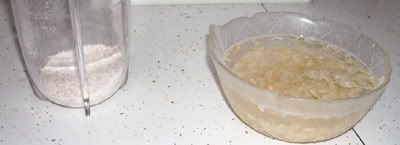
 Grind the oats before you start mixing things together. Also remember to start your onions hydrating early....I never fail to forget and then end up hurrying the hydrating along with some hot water. ;) I suppose I could always use fresh minced onion instead, but the dried are generally less work. This version is the first I've tried the ground oatmeal in....experimentation continues.
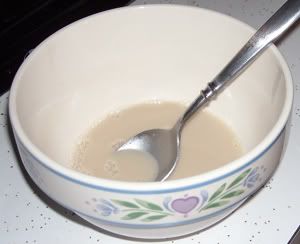
 Yeast dissolved in warm water. Nothing complicated here. I just use warm water out of the tap to do this step.
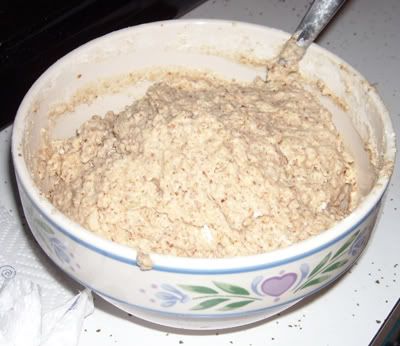
 A little pic of the wet dough....this is about the time my hand gets tired and I pour the dough out onto the board to work in the rest of the flour. A note here.....you do not need special equipment to make bread. If you have a mixer with a bread hook wonderful...don't be afraid to put it to work...otherwise a simple bowl and a spoon get the job done just fine. It just seems more user friendly to make a batch of bread without breaking out the mixers....when I have to truck out gear it makes the recipe seem much more involved for some reason. It's a state of mind I think. Plus, my small bowls just get tossed into the dishwasher and I have less to wash up by hand.
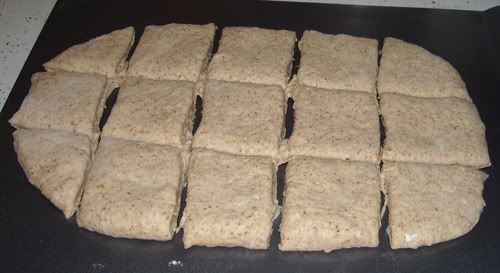
 Dough, sectioned off before rising....the dough is fairly elastic to when you run your pizza cutter through it will pull apart a bit on it's own. Never fear....when it rises it will poof back up and snuggle together again. You don't need to pre-cut if you don't wish....it just makes it easier to break apart into serving sections without using a knife later.
No comments:
Post a Comment